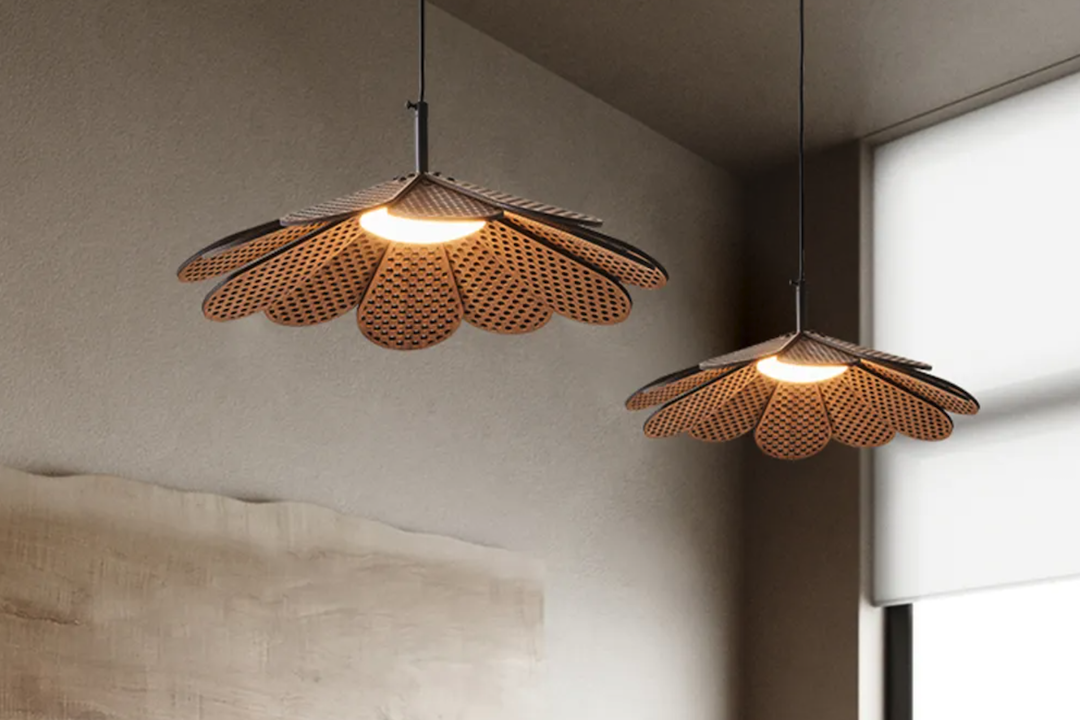
Hollyhock chandeliers represent a unique fusion of nature and artistry, transforming the traditional concept of lighting into a vibrant celebration of floral beauty. These stunning fixtures are not merely sources of illumination; they are intricate works of art that bring the essence of the garden indoors. The hollyhock, with its tall spikes of colorful blooms, serves as an ideal inspiration for creating a chandelier that captures the eye and elevates the ambiance of any space.
The process of crafting a hollyhock chandelier Tiroom allows for personal expression, as each piece can be tailored to reflect individual tastes and preferences. The allure of hollyhock chandeliers lies not only in their aesthetic appeal but also in the connection they foster with nature. By incorporating real or artificial hollyhock flowers into the design, one can evoke the charm of a summer garden, regardless of the season.
This article will delve into the intricate steps involved in creating a hollyhock chandelier, from gathering materials to displaying the finished product. Each phase of the process is an opportunity to explore creativity and craftsmanship, resulting in a stunning centerpiece that can enhance any room.
Gathering Materials and Tools
The first step in creating a hollyhock chandelier is to gather all necessary materials and tools. This preparation phase is crucial, as having everything on hand will streamline the crafting process and ensure that no essential components are overlooked. For a basic hollyhock chandelier, you will need a variety of supplies, including a sturdy frame, floral wire, and an assortment of hollyhock flowers.
Depending on your design vision, you may choose to use either fresh flowers or high-quality artificial blooms that mimic the vibrant colors and textures of real hollyhocks. In addition to the flowers, you will require tools such as wire cutters, pliers, a hot glue gun, and possibly a drill if you plan to create a more complex structure. The frame can be made from materials like metal or wood, depending on the desired aesthetic and durability.
If you opt for a wooden frame, consider using reclaimed wood for an eco-friendly touch. Furthermore, decorative elements such as ribbons, beads, or crystals can add an extra layer of elegance to your chandelier. By carefully selecting each component, you set the stage for a beautiful and cohesive final product.
Preparing the Hollyhock Flowers
Once you have gathered your materials, the next step is to prepare the hollyhock flowers for incorporation into your chandelier design. If you are using fresh flowers, it is essential to select blooms that are at their peak freshness to ensure longevity and visual appeal. Trim the stems at an angle to promote water absorption if you plan to keep them fresh for a while.
However, if your intention is to create a more permanent fixture using artificial flowers, focus on selecting high-quality options that closely resemble real hollyhocks in color and texture. For both fresh and artificial flowers, it is advisable to remove any excess foliage that may detract from the overall look of the chandelier. This can be done by carefully cutting away leaves or other parts of the plant that do not contribute to the desired aesthetic.
Additionally, consider grouping flowers by color or size to create a harmonious arrangement when attaching them to the chandelier frame. This preparation phase is vital in ensuring that each flower contributes effectively to the overall design and enhances the visual impact of the finished piece.
Constructing the Chandelier Frame
With your flowers prepared, it’s time to construct the chandelier frame. The frame serves as the backbone of your creation and must be sturdy enough to support the weight of the flowers and any additional decorative elements you plan to include. If you are using metal for your frame, consider welding or using strong adhesive to secure joints for added stability.
For wooden frames, ensure that all pieces are cut accurately and assembled tightly to prevent any wobbling or instability once hung. The design of your frame can vary widely based on personal preference and intended style. A circular frame may evoke a classic look reminiscent of traditional chandeliers, while an asymmetrical design could lend a more modern flair.
Incorporating multiple tiers can add depth and dimension to your chandelier, allowing for a more dynamic display of flowers. As you construct the frame, keep in mind how it will interact with light sources; ensuring that bulbs are positioned effectively will enhance the overall illumination and highlight the beauty of your hollyhock flowers.
Attaching the Hollyhock Flowers
Once your frame is complete, it’s time to attach the hollyhock flowers. This step is where your creative vision truly comes to life as you arrange the blooms in a way that complements the structure of your chandelier. Begin by securing larger flowers at strategic points on the frame, using floral wire or hot glue to ensure they are firmly attached.
It’s important to distribute weight evenly across the frame to maintain balance and stability. As you work your way around the chandelier, consider layering smaller blooms or foliage between larger flowers to create depth and texture. This technique not only enhances visual interest but also mimics the natural growth patterns found in gardens.
Pay attention to color placement; contrasting hues can create striking focal points while analogous colors can produce a more harmonious effect. Take your time during this process; stepping back periodically to assess your work will help ensure that each flower is positioned perfectly within the overall design.
Adding Additional Decorative Elements
To elevate your hollyhock chandelier further, consider incorporating additional decorative elements that complement your floral arrangement. These embellishments can range from simple accents like ribbons or twine wrapped around the frame to more elaborate additions such as crystals or beads that catch and refract light beautifully. The choice of decorative elements should align with your overall theme—whether it’s rustic charm or elegant sophistication.
For instance, if you’re aiming for a bohemian vibe, consider adding feathers or natural fibers alongside your hollyhocks. Alternatively, if you prefer a more glamorous look, incorporating metallic accents or glass crystals can enhance the chandelier’s sparkle and draw attention to its intricate details. When adding these elements, ensure they do not overwhelm the floral display; instead, they should serve as complementary features that enhance rather than distract from the beauty of the hollyhocks.
Hanging and Displaying the Chandelier
Once your hollyhock chandelier is complete, it’s time to hang and display it in your chosen space. Selecting the right location is crucial; consider areas where natural light can enhance its beauty during the day while also allowing for effective artificial lighting at night. High ceilings are ideal for chandeliers as they provide ample space for hanging without obstructing views or movement within the room.
When hanging your chandelier, ensure that it is securely fastened and at an appropriate height—typically around 30 inches above dining tables or seating areas—to allow for comfortable interaction without being too low or obstructive. If possible, use adjustable chains or cables so you can modify its height later if needed. Once hung, take time to assess how it interacts with surrounding decor; this will help you determine if any additional adjustments are necessary for optimal visual impact.
Maintenance and Care Tips
Maintaining your hollyhock chandelier is essential for preserving its beauty over time. If you’ve used fresh flowers, regular upkeep will be necessary to keep them looking vibrant; this may include replacing wilting blooms and ensuring that any water sources remain clean and fresh. For artificial flowers, dusting them periodically with a soft cloth will help prevent buildup that can dull their appearance.
In addition to cleaning, consider seasonal adjustments; swapping out flowers or decorative elements based on changing seasons can keep your chandelier feeling fresh and relevant throughout the year. For instance, during autumn, incorporating warm-toned leaves or berries can create a cozy atmosphere, while spring might call for lighter pastels or new blooms altogether. By investing time in maintenance and seasonal updates, you can ensure that your hollyhock chandelier remains a stunning focal point in your home for years to come.